USER GUIDE
welcome to MEDSMADE, this article is to help you understand how to use this platform to upload your products and then display them to the target audience.
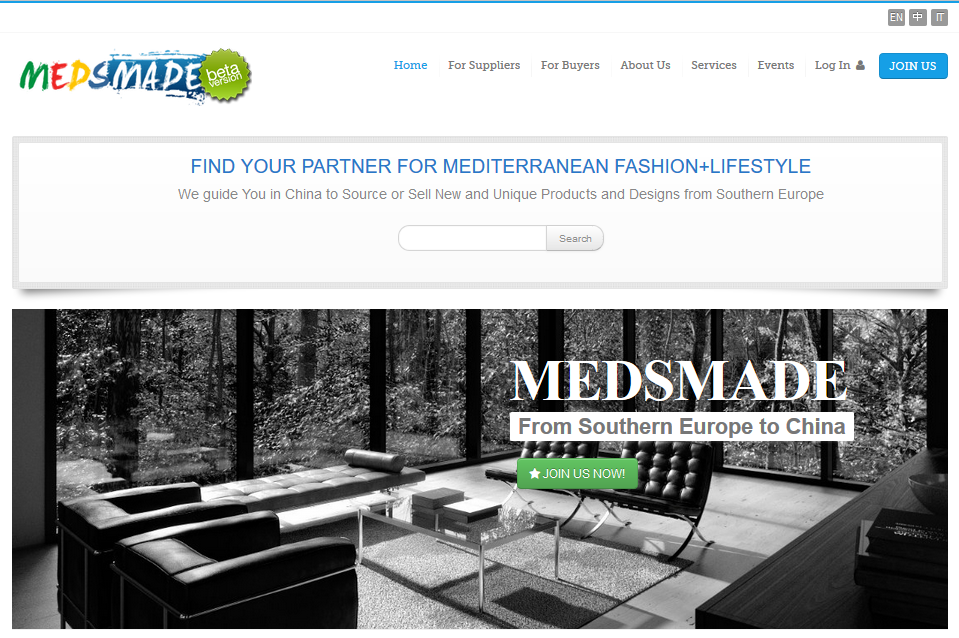
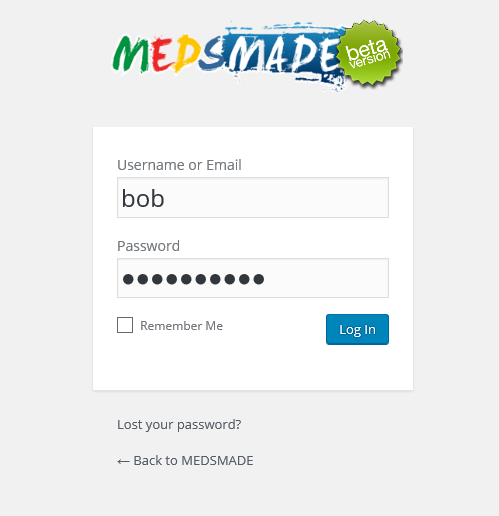
- first all, you need to get a user id to start. So click the “JOIN US” button at the right top corn of the website.
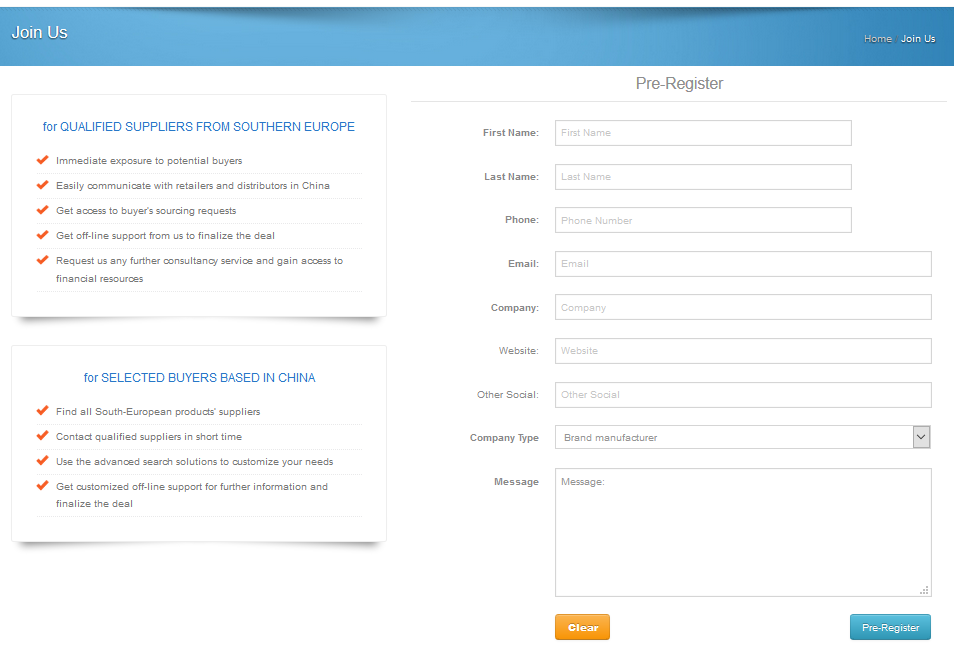
- You need to provide all valid information in the form, especially the email address, which is used to receive account id and password from MEDSMADE. The fields with bold label in the pre-register form are mandatory, others like the “website” and “Other Social” are optional.
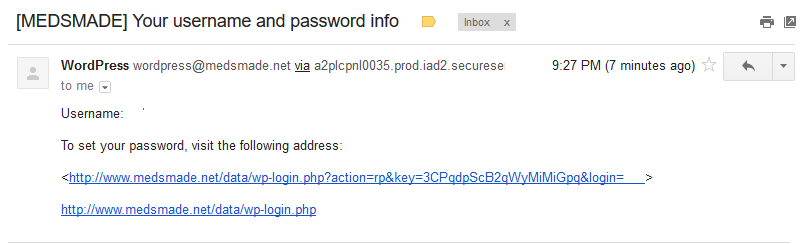
- Once the platform reviewed your information, the platform will send you an email titled: [MEDSMADE] Your username and password info. If you did not receive your email, please check your spam mailbox as well.

- In the email, it provides you with a Username and two links, one for resting your password. You can create a password easier for you to remember. the other link is a login link, which is useful if you are provided username and password by phone or other ways.
- You can choose a strong password, but easier for you to remember but difficult for others to guess. And MEDSMADE will never leak your information to the others.
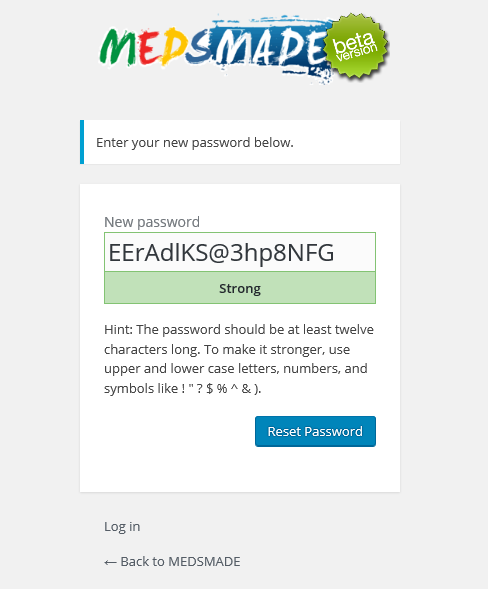
- Once you rest your password, you can log in to the platform with your new password.
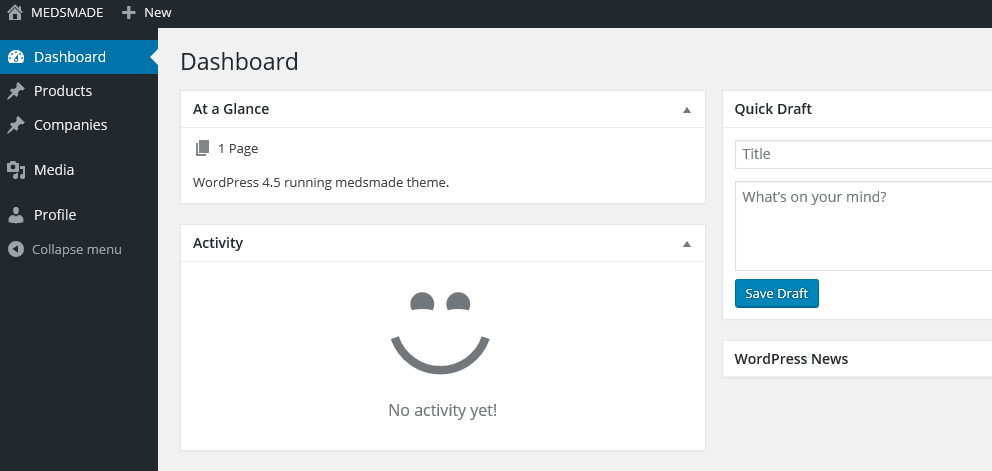
- After Login, you will be greeted with a big smile, which is the backend dashboard of MEDSMADE platform.Get yourself familiar with the dashboard. One the left is the navigation bar, where will navigate you to all different functions like upload your company’s details, your products which you want to be shown in the platform, to add pictures by uploading medias, as well as maintain your profile etc. on the top is the menu bar, which gives you the shortcut to upload the information as well. on the right, is the workspace.
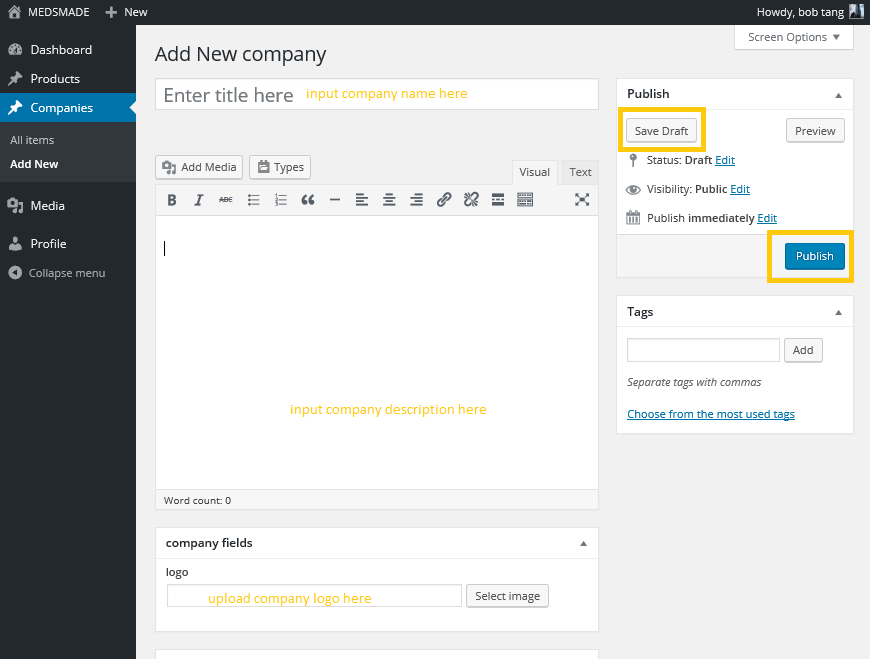
- The best practice to start is to upload your company’s detail first. You need to provide your company’s name, a short description of your company, and the logo. During your edit, you can press save draft to save your work, and come back whenever you want. So you can pick up from what you left. Once everything is ready, you have to press “Publish” button to put the company online.
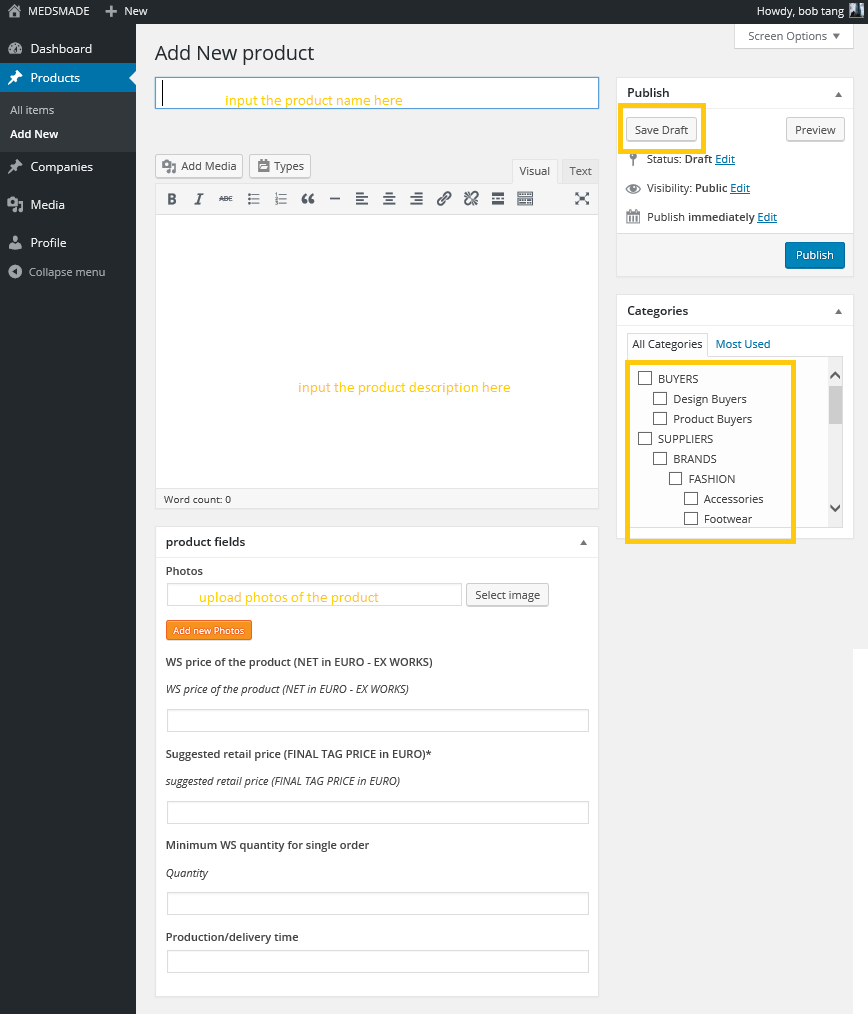
- And then you probably want to upload the products to the platform, so users are able to find your products through the platform. You have to input all the required details. includes:
- product name,
- a short description of
- photos of your product, you can input as many as three images.
- WS price of the product in Euro
- Suggested retail price
- Minimum Quantity of a single order
- and the product delivery time.
besides you have to select a category for your product, choose one in the “Categories” box.
And after that, you have to press “Save Draft” to save all your input.
- The final step of uploading your product is to link it to your company. at the bottom of same page, there is a box called “Post Relationship”, you have to choose your company’s name. And then press “Save” button.

- You will follow the same steps to upload as many products as you want.
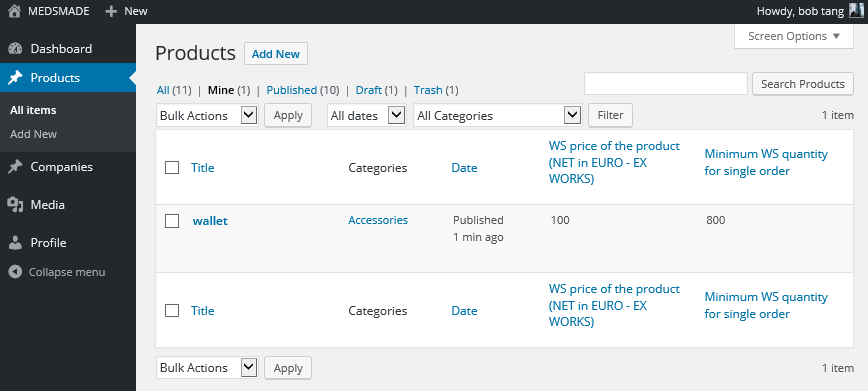
- Once you finished uploading all your products, you can view all the items you uploaded by click “All items ” on the navigator. And you can click any of them to edit if you feel some information need correction.
- After all these steps, users are able to search your products.